
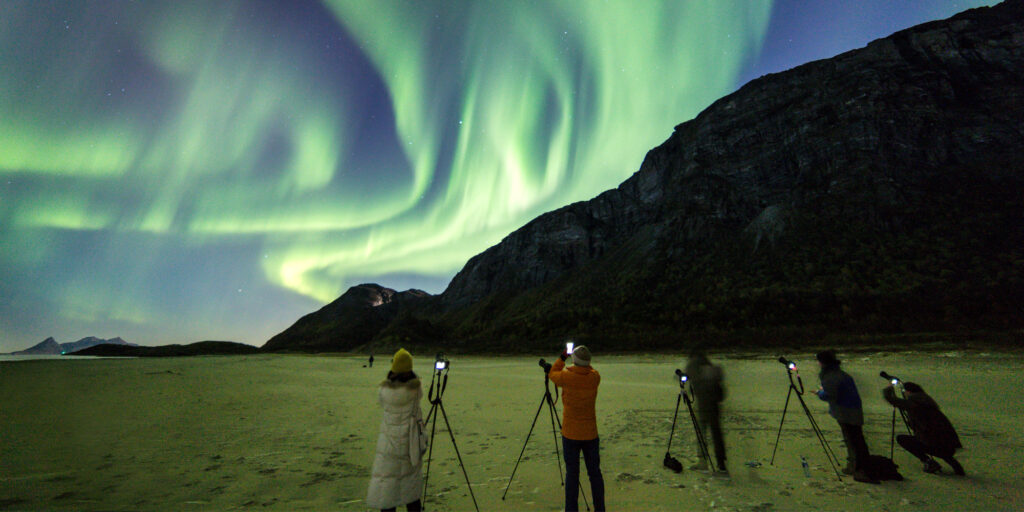
The northern lights recently lit up the skies across the United States — from Wisconsin to as far south as Florida. The dazzling green and pink lights left many speechless and reaching for their phones or cameras to capture the unforgettable sight. If you missed out or plan to photograph the next aurora, here’s a simple guide to help you do it like a pro.
Understanding the Magic Behind the Northern Lights
The Aurora Borealis is caused by powerful geomagnetic storms, when charged particles from the sun collide with gases in Earth’s atmosphere. This natural process releases energy as colorful light — often shades of green, purple, and pink.
This week’s auroras were unusually widespread, caused by coronal mass ejections (CMEs) — giant bursts of solar plasma that reached Earth, creating one of the strongest G4-level storms in years. That’s why even southern states like Alabama, Texas, and Florida got to witness the show.
When and Where to Photograph the Northern Lights
The best time to photograph auroras is between 10 p.m. and 2 a.m., when the sky is darkest. Head away from city lights to a rural or open area where light pollution is minimal.
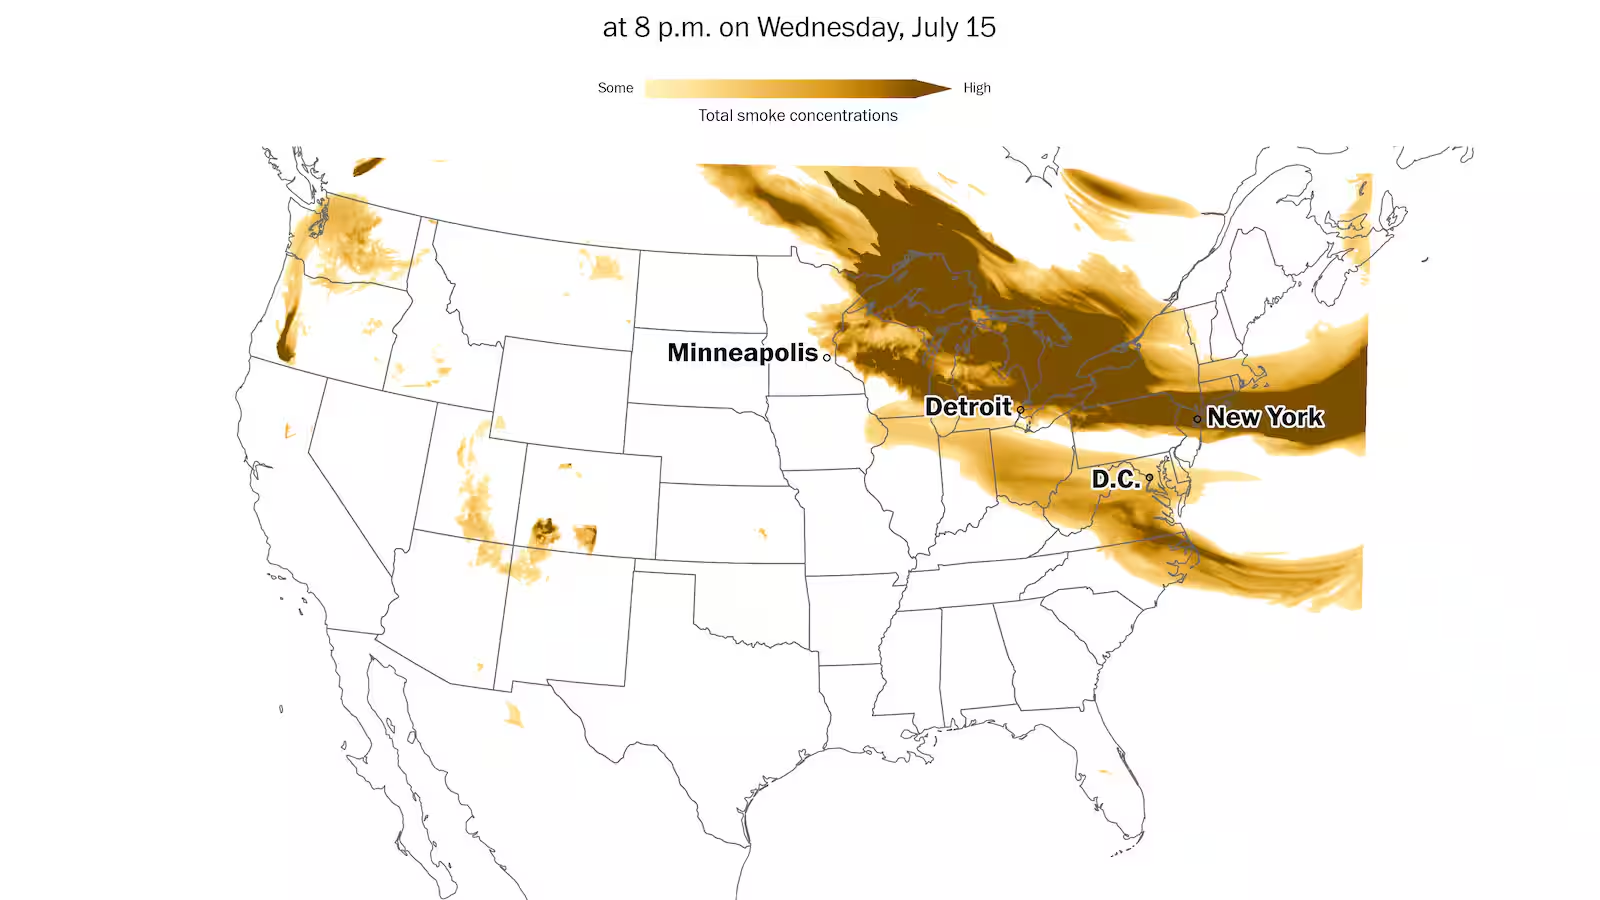
According to the NOAA’s Space Weather Prediction Center, northern states like Wisconsin, New York, and Washington remain top spots for viewing. However, during intense solar storms, even parts of the Midwest and South can get lucky.
| Location Type | Viewing Quality | Best Time |
|---|---|---|
| Rural Countryside | Excellent | 10 p.m.–2 a.m. |
| Suburban Area | Moderate | Midnight |
| City/Town | Poor (due to lights) | – |
Best Camera Settings for Aurora Photography
You don’t need a fancy DSLR to capture the aurora. Modern smartphones can do wonders with the right setup.
For Smartphones:
- Turn on Night Mode or Pro Mode
- Lower ISO to around 800–1200
- Set exposure between 5–10 seconds
- Keep your phone steady using a tripod or flat surface
For Cameras:
- Use a wide-angle lens (14–24mm)
- Set aperture to f/2.8 or lower
- Adjust ISO to 800–1600
- Keep shutter speed between 5–15 seconds
A steady frame is key — even a small shake can blur the light trails.
Tips to Make Your Aurora Photos Stand Out
- Include foreground elements — trees, lakes, or mountains make your shot more dramatic.
- Use manual focus — autofocus struggles in low light. Focus on a bright star or distant light.
- Dress warmly and be patient — auroras can shift suddenly, so wait and watch the sky.
- Experiment — change your angles and exposure times for creative results.
Why You’ll See More Northern Lights Soon
The sun is now at its solar maximum, a peak in its 11-year cycle. During this phase, more solar flares and CMEs occur, making auroras more frequent and visible across wider regions of the U.S.
So, if you missed this week’s show, don’t worry — more northern lights are coming in the months ahead. Keep your camera ready, and your eyes on the night sky.
The next time the aurora paints the heavens, you’ll know exactly how to capture it — not just with your camera, but in your memory forever. 🌌